The current stable version is 0.19.0
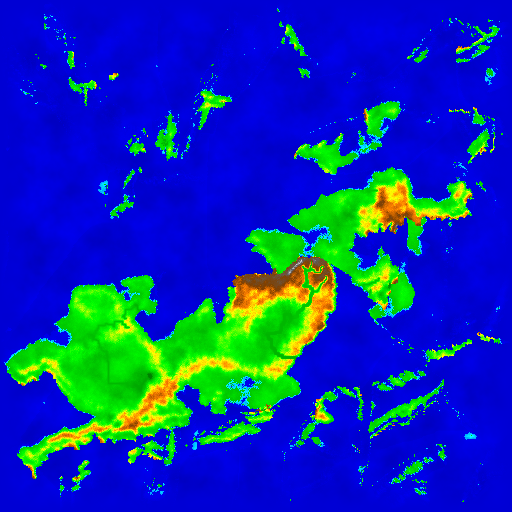
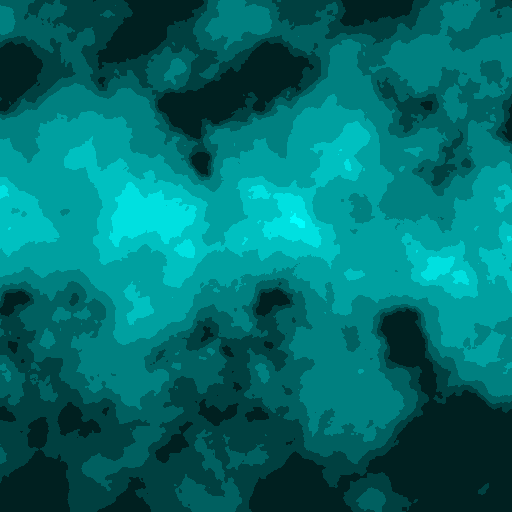
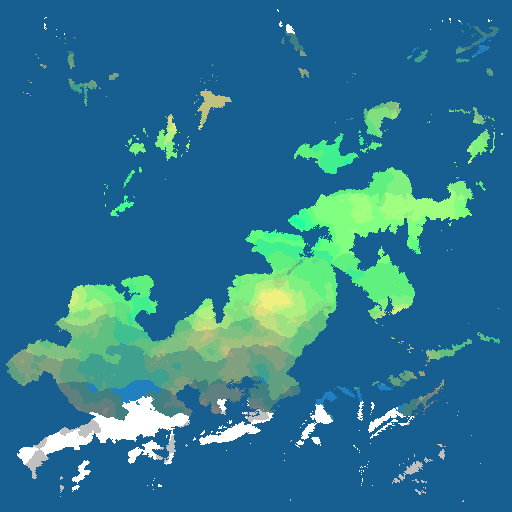
You can generate the data for your own world, including a number of images (heightmap, biomes, etc.).
For example:
worldengine world -s 1 -n seed1Worlds are generated using plate simulations, erosion, rain shadows, Holdridge life zones model and plenty of other phenomenons.
The created world can be used for simulating the evolution of a civilization (see project civs).
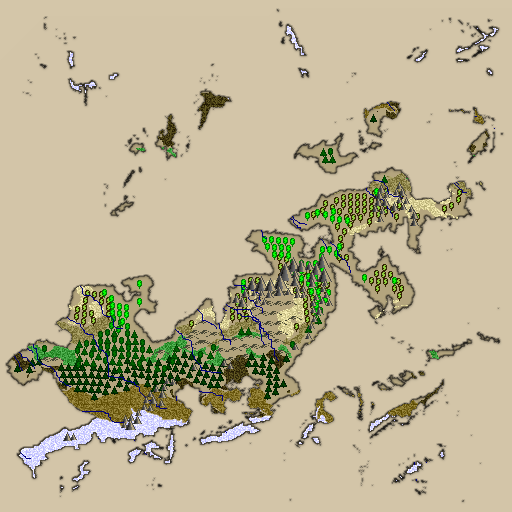
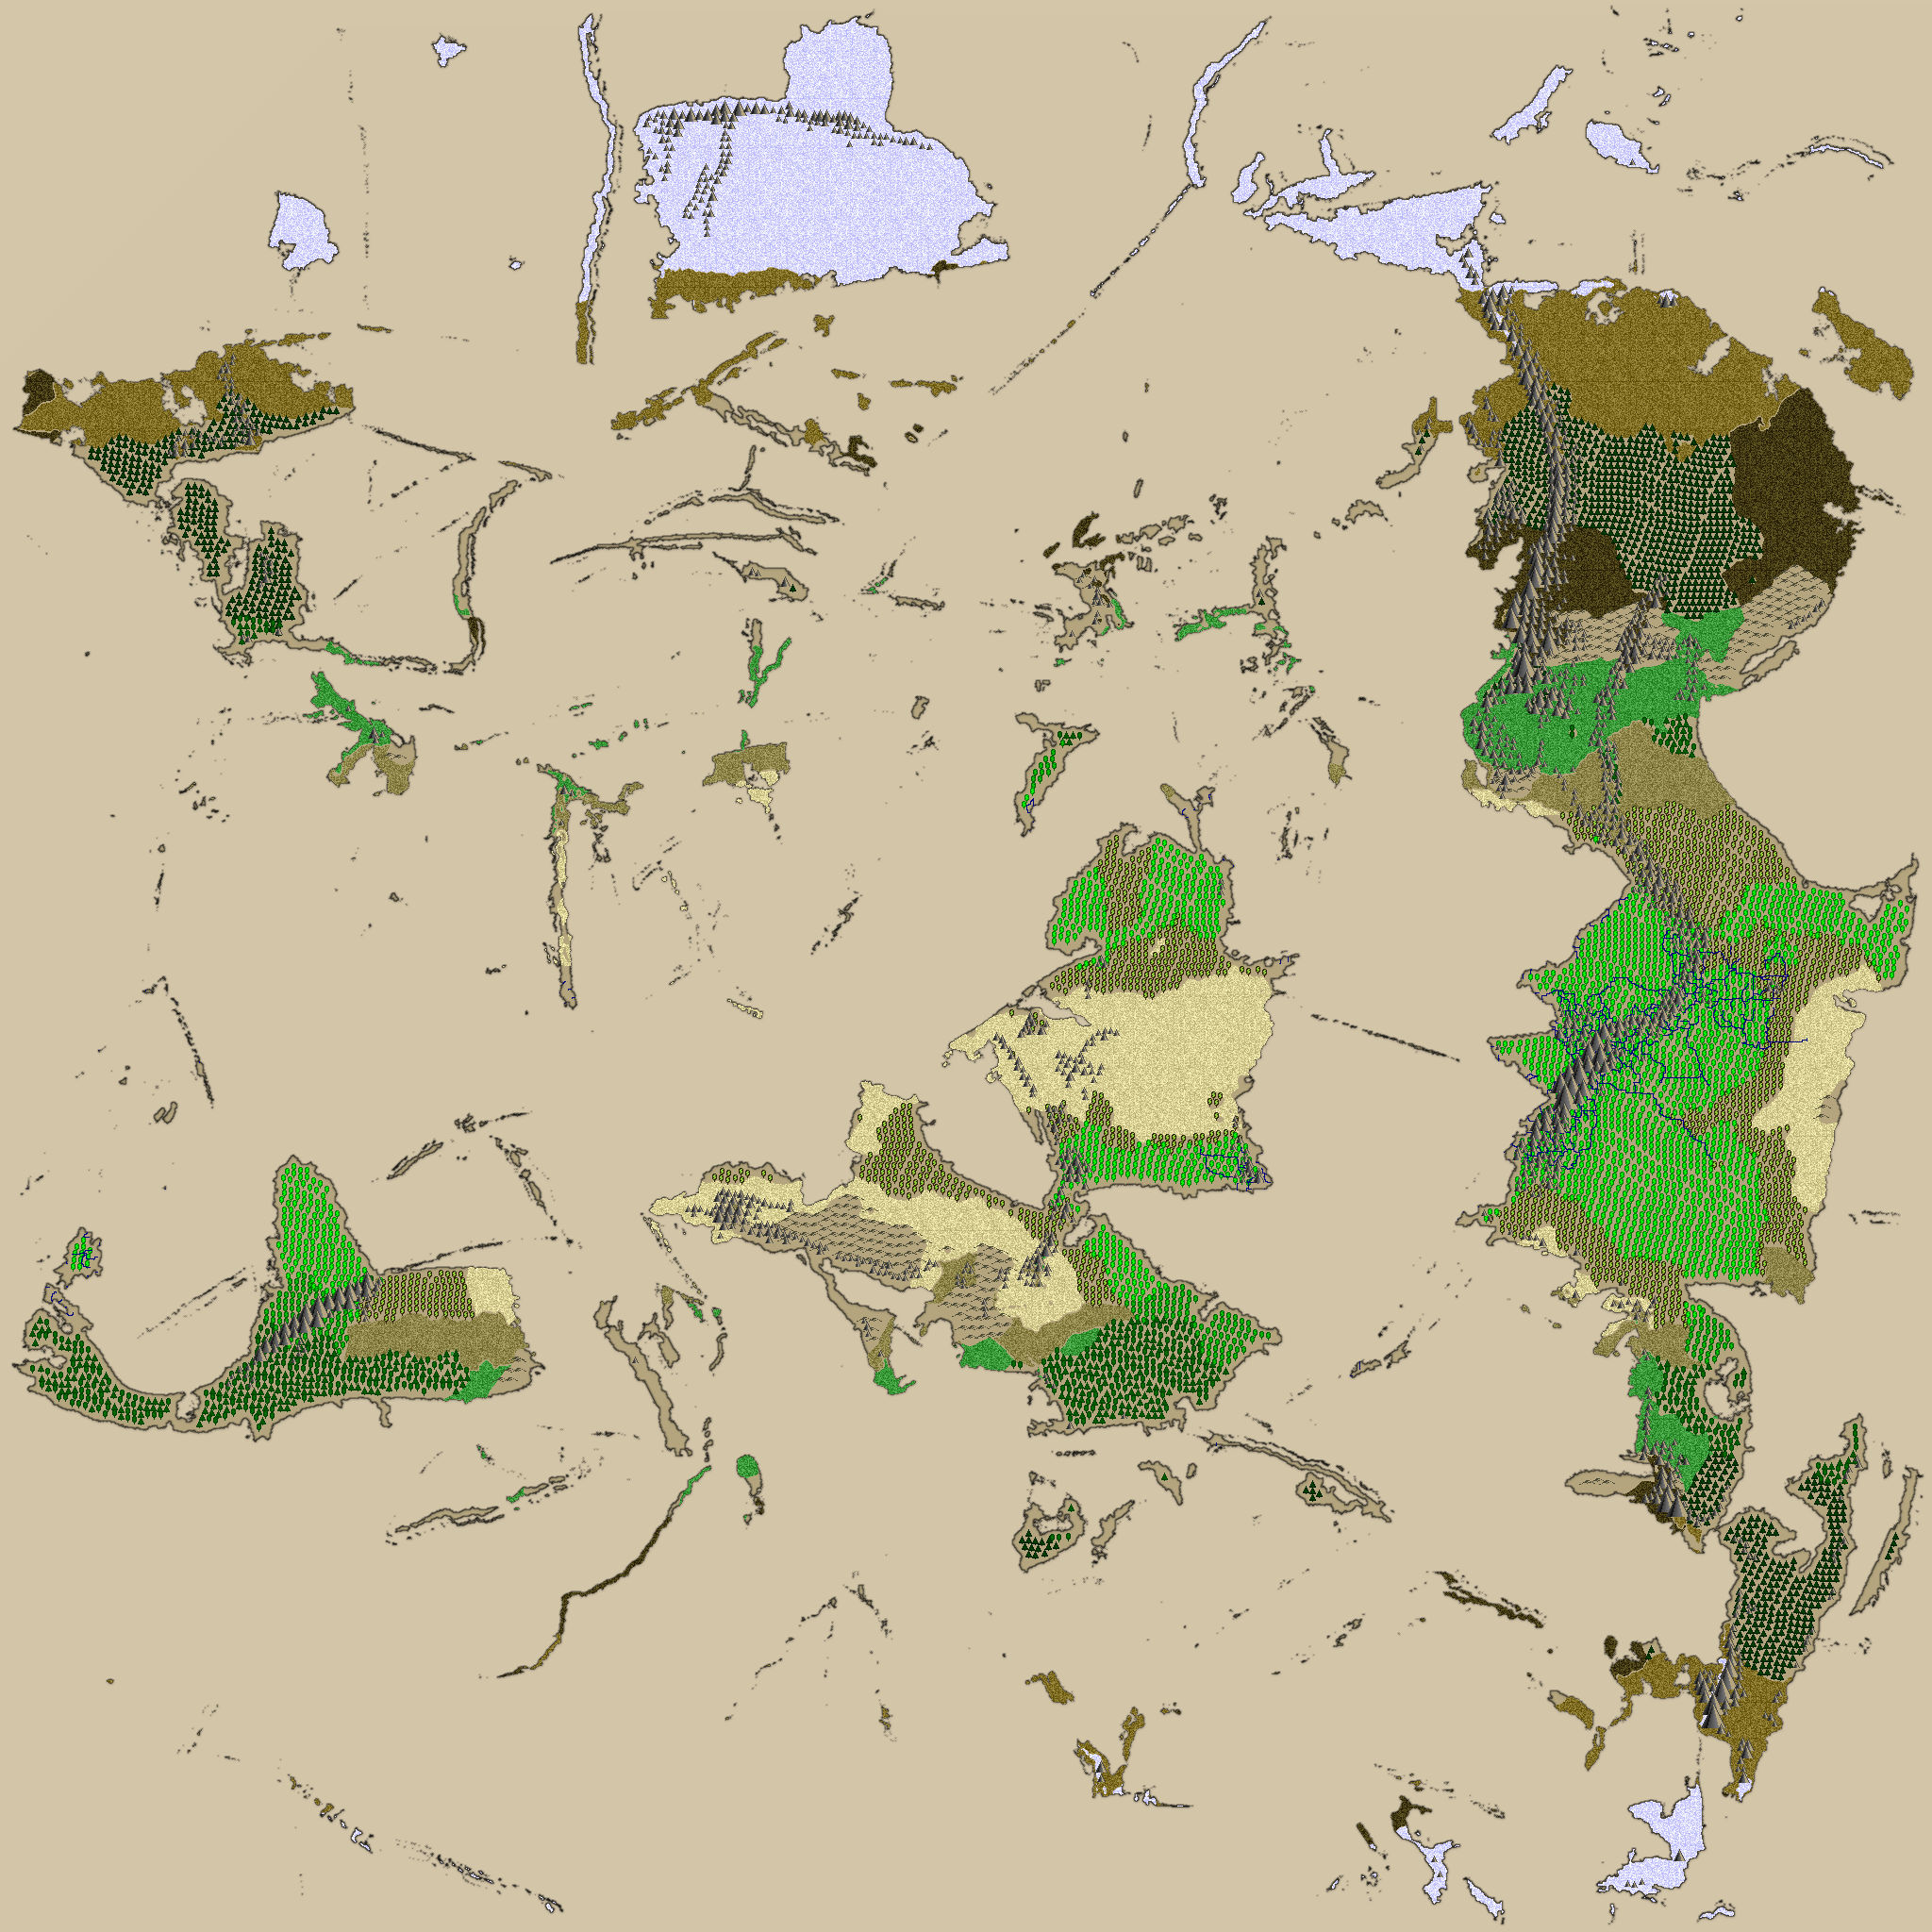
It is also possible to generate additional maps, for example an ancient looking map:
worldengine ancient_map -w seed1.worldWe started a Google group: Should you have ideas, problems, suggestions or want to contribute, please join us!
The Manual for Worldengine : http://worldengine.readthedocs.io/en/latest/
We would love to see WorldEngine used together with other tools. Worlds generated by WorldEngine can be loaded into python applications using WorldEngine itself as a library. Java applications can instead use WorldEngine-Java, a java library to load WorldEngine files.
Worlds can be saved using the protobuf format or hdf5, for which there are libraries in several languages. We keep working on supporting more formats and always interested in ways to improve interoperability.
For Windows, Linux and Mac are available on the releases page.
An experimental (and limited!) GUI is available as a separate project: https://github.com/Mindwerks/worldengine-gui.
First, git clone or download the code, then:
bin/run_in_docker.sh
# Currently not yet released on pypi, you may want to still use Lands or WorldSynth
# or alternatively download the source
pip install worldengine
git clone or download the code

# for unit-testing: also clone worldengine-data
git clone [email protected]:Mindwerks/worldengine-data.git ../worldengine-data
nosetest tests
If you want to install Worldengine on Windows you can read these instructions.
Executable file is also available under releases, but is currently out of date.
Note: you need also a copy of the worldengine src directory in the same folder as the exe.
The gui is based on QT, so you will need to install them
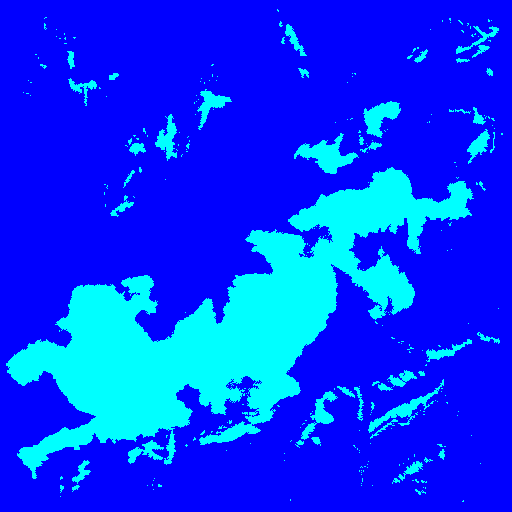
The program produces a binary format with all the data of the generated world and a set of images. For examples seed 1 produces.
There are several optional outputs and many options to control the result. The manual is your friend!
worldengine [options] [world|plates|ancient_map|info]
For details about all the possible options please refer to the manual.
For example these commands:
worldengine -s 4 -n an_example -q 25 -x 2048 -y 2048Produce this output
Worldengine - a world generator (v. 0.19.0)
-----------------------
 operation            : world generation
 seed                 : 4
 name                 : an_example
 width                : 2048
 height               : 2048
 number of plates     : 25
 world format         : protobuf
 black and white maps : False
 step                 : full
 greyscale heightmap  : False
 rivers map           : False
 scatter plot         : False
 fade borders         : True

starting (it could take a few minutes) ...

Producing ouput:
* world data saved in './an_example.world'
* ocean image generated in './an_example_ocean.png'
* precipitation image generated in './an_example_precipitation.png'
* temperature image generated in './an_example_temperature.png'
* biome image generated in './an_example_biome.png'
* elevation image generated in './an_example_elevation.png'
...done
This is the corresponding ancient map
worldengine ancient_map -w an_example.worldThe world generation algorithm goes through different phases:
- plates simulation: it is the best way to get proper mountain chains. For this pyplatec is used
- noise techniques are used at different steps
- precipitations are calculated considering latitude and rain shadow effects
- erosion is calculated
- humidity in each zone is calculated
- terrain permeability is calculated
- biome is calculated using the Holdridge life zones model
Using virtualenv you can create a sandbox in which to develop.
virtualenv venv
source venv/bin/activate
pip install --upgrade pip setuptools
pip install -r requirements-dev.txt
python worldenginevirtualenv venv -p /usr/bin/python3
source venv/bin/activate
pip install --upgrade pip setuptools
pip install -r requirements-dev.txt
python worldengineWe use PyInstaller to wrap everything up into one binary.
This will create a binary located dist/worldengine that has all the
required libs necessary to run.
Because of the libraries we use, it is best to use their develop branch.
pip install git+https://github.com/pyinstaller/pyinstaller.git@develop
pyinstaller --clean -F -n worldengine worldengine/__main__.pyYou'll need to have brew installed, this should give you all the tools you'll need.
pyinstaller --clean -F -n worldengine worldengine/__main__.pyAt this time, it doesn't gather everything from protobuf. So you'll need to copy google/protobuf python to dist/google/protobuf and create init.py in dist/google
Turning your Windows into a developer environment is a long and drawn out process. I'll try to keep this as short as possible and to the point.
Remember, be consistent if you are either win32 or win64 and everything you download and install is either one or the other, but not both.
You'll want to install msysgit: https://msysgit.github.io/ which will get you a Linux like environment. After that, clone the repo and install Python 2.7 for windows: https://www.python.org/downloads/windows/ This will get you also pip which is required for the rest. You'll first need to pip install virtualenv.
The layout is a bit different than in Linux.
virtualenv venv
venv/Scripts/pip install -r requirements.txt
Numpy install will fail, so you'll need download a pre-compiled wheel file and install it with pip. http://www.lfd.uci.edu/~gohlke/pythonlibs/#numpy numpy‑1.9.2+mkl‑cp27‑none‑win_amd64.whl Pick one for your arch, 32 or 64.
venv/Scripts/pip install ../numpy‑1.9.2+mkl‑cp27‑none‑win_amd64.whlNext step is to get pywin32 which are win32api hooks for python, when downloading, you'll need to pick either 32 or 64-bit otherwise it won't work. You'll also install it via pip. http://sourceforge.net/projects/pywin32/files/pywin32/
venv/Scripts/pip install ../pywin32-219.win-amd64-py2.7.exeThe last step is to get pyinstaller installed and this can be tricky because as of right now, we have to use a specific revision that "good-enough". The issue is being tracked here: pyinstaller/pyinstaller#1291
venv/Scripts/pip install git+https://github.com/pyinstaller/pyinstaller.git@67610f2
venv/Scripts/pyinstaller --clean --console -F -n worldengine worldengine/__main__.pyPlease write to us! You can write us at:
- f dot tomassetti at gmail dot com
- psi29a at gmail dot com Thank you, all the feedback is precious for us!
WorldEngine is being used in several products and we are starting to list them here:
- Lost Islands WorldEngine has been used to generate a map for Widelands, an open-source real time strategy game
- AX:EL - Air XenoDawn a sci-fi aerial dogfighting commercial game released on Steam
If you are using WorldEngine please let us know!
This project is maintained by Bret Curtis and Federico Tomassetti.
All contributions, questions, ideas are more than welcome! Feel free to open an issue or write in our google group.
We would like to thank you great people who helped us while working on WorldEngine and the projects from which it was derived:
-
Evan Sampson contributed the amazing implementation of the Holdridge life zones model and improved a lot the ancient-looking-map, biome, precipitation and temperature generators. Thanks a million!
-
Ryan contributed the Windows binary version and discussed Lands on Reddit bringing a lot of users. Thanks a million!
-
stefan-feltmann made Lands depends on pillow instead that on PIL (which is deprecated). This could also help when moving to Python 3. Thanks a million!
-
Russell Brinkmann helped saving the generation parameters in the generated world (so that we can use it to generate the same world again, for example), improved the command line options and added tracing information (useful for understanding the performance of the various generation steps)
-
Joshua Coppola implemented the satellite view. Thanks a lot, it looks gorgeous!
-
Stephan made WorldEngine make heavy use of numpy, helping to speed up the generation. He also made world-generation much more reproducible and helped improve compatibility with Python 3.
-
Alex made things generally run faster and look cleaner by better employing numpy.
WorldEngine has been created by merging Lands and WorldSynth. Last Lands version was 0.5.3, last WorldSynth version: 0.12, first WorldEngine version has been 0.18.
WorldEngine is available under the MIT License. You should find the LICENSE in the root of the project.

